How it works
How ProjectSend works
A tour of the real product — every image on this page is an actual screenshot, not a mockup. Five steps from upload to audit trail.
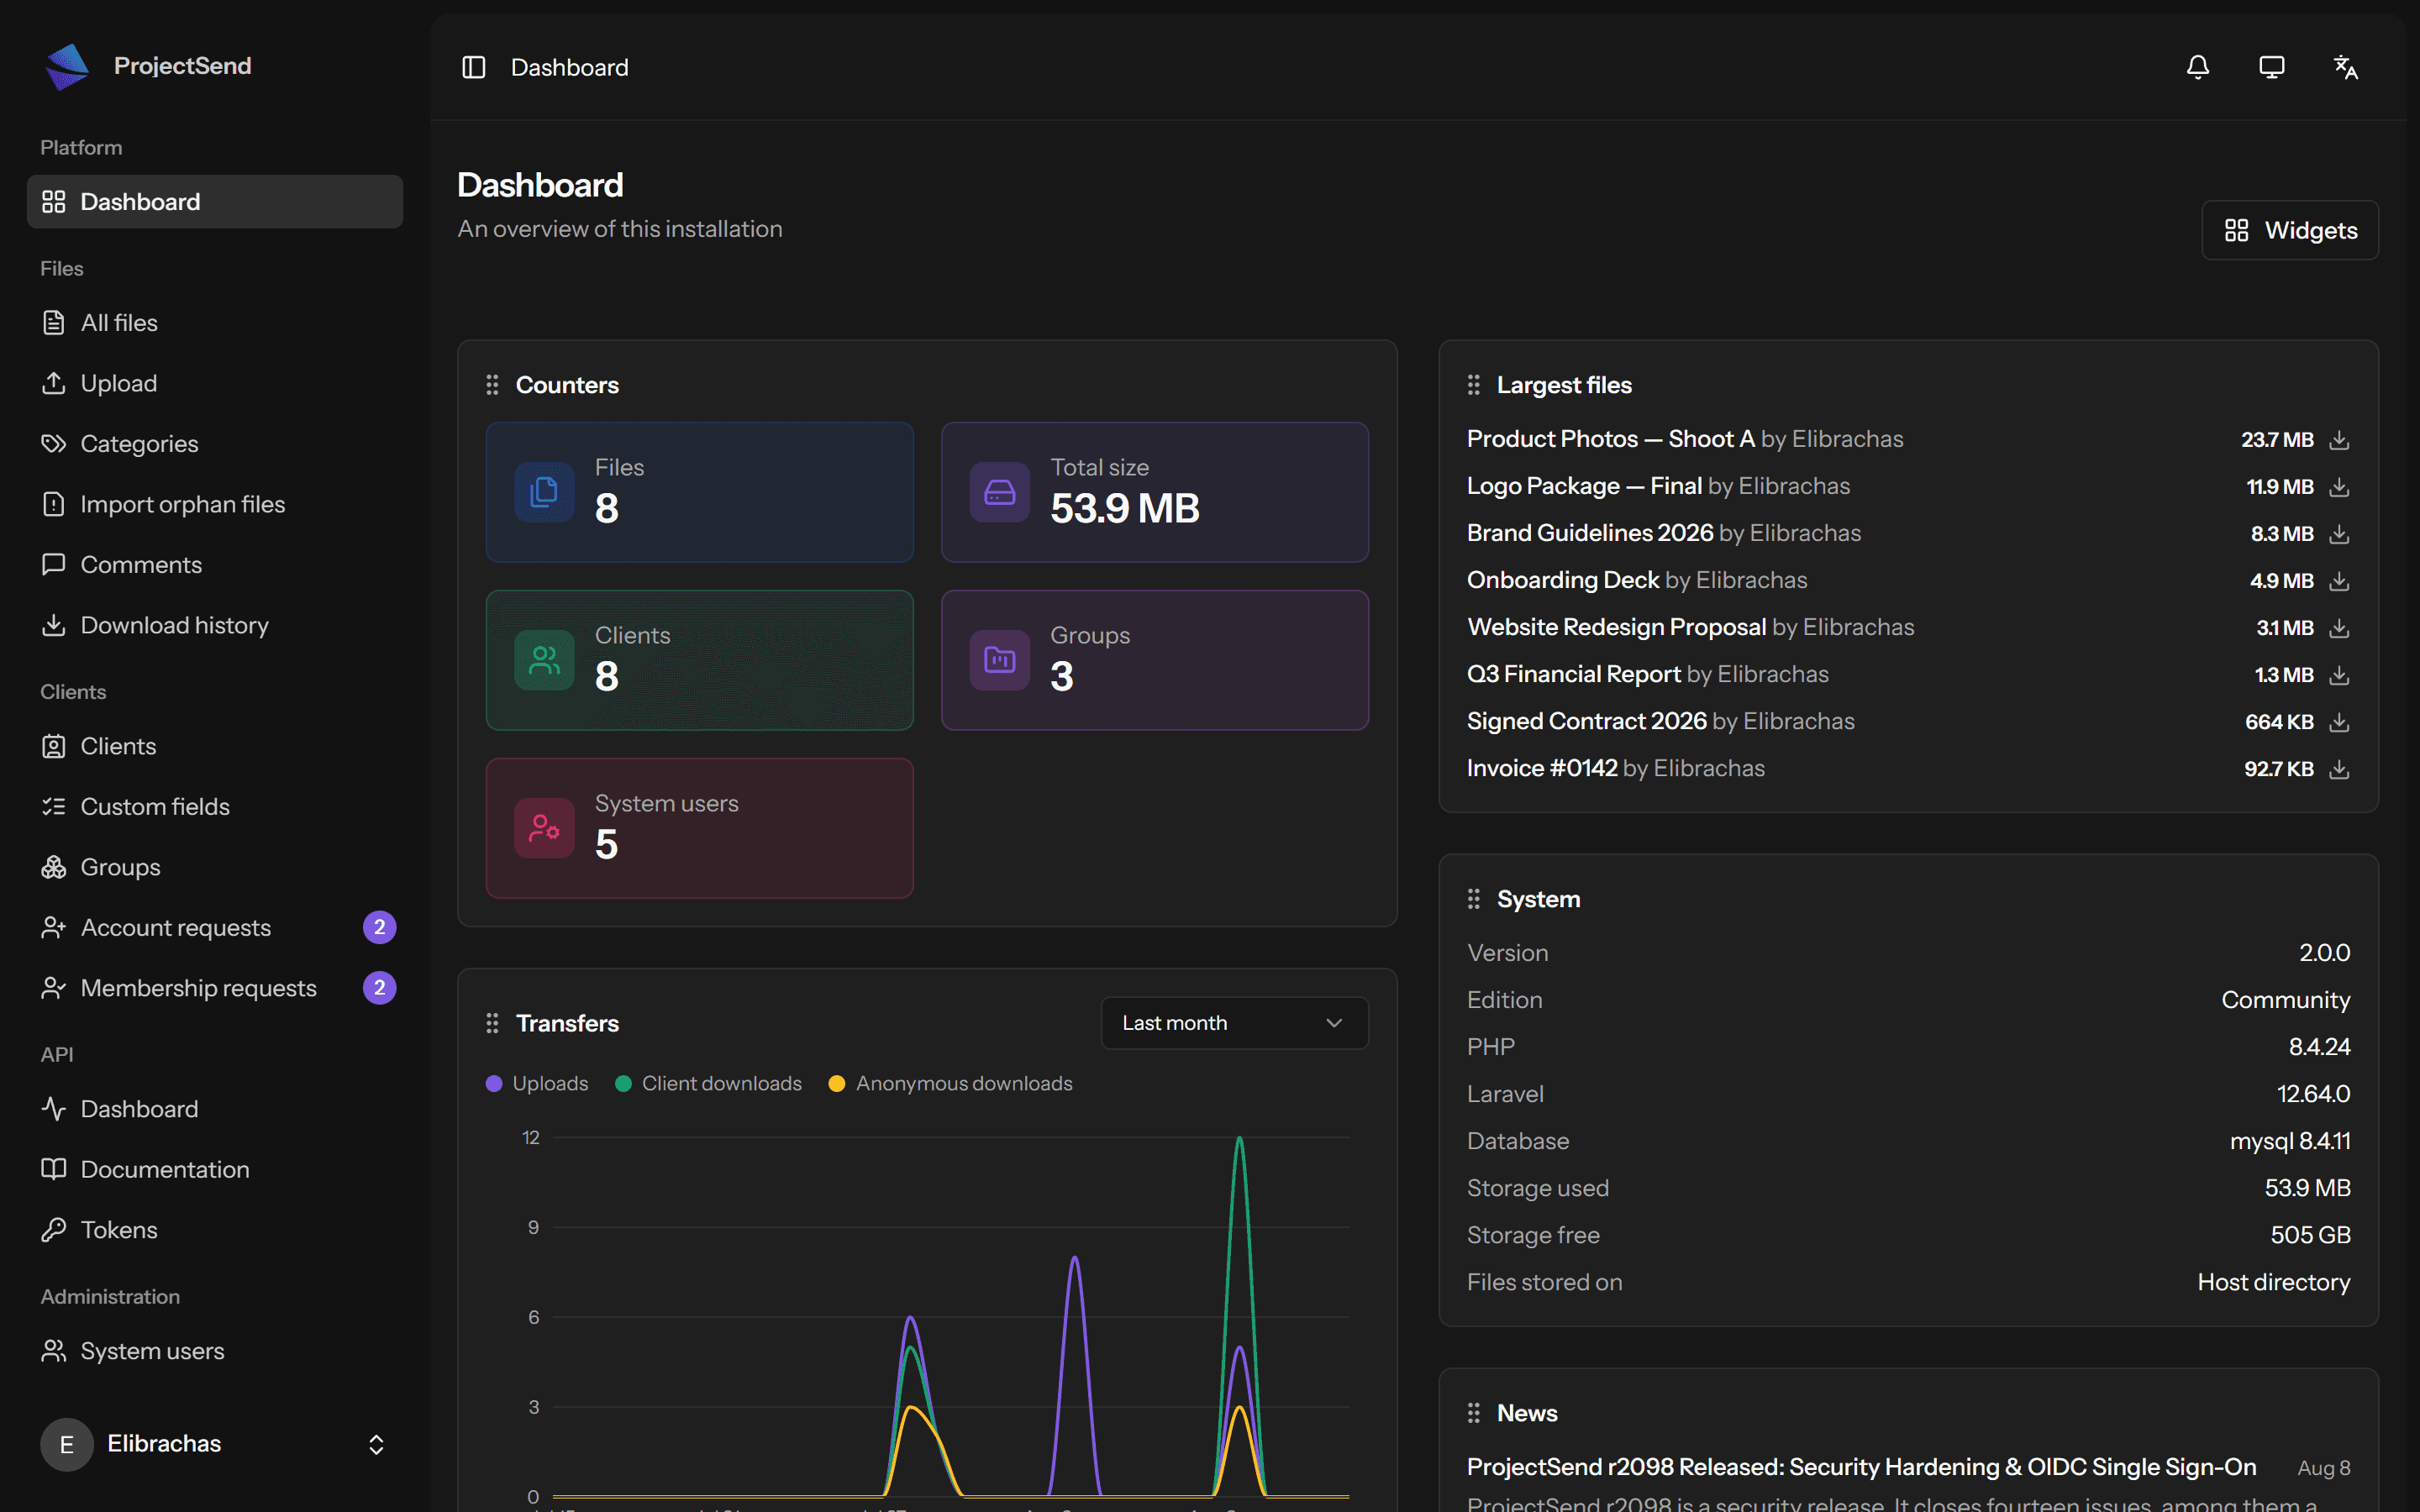
The dashboard: your installation at a glance — transfers, storage, and the files that move the most.
Step 1
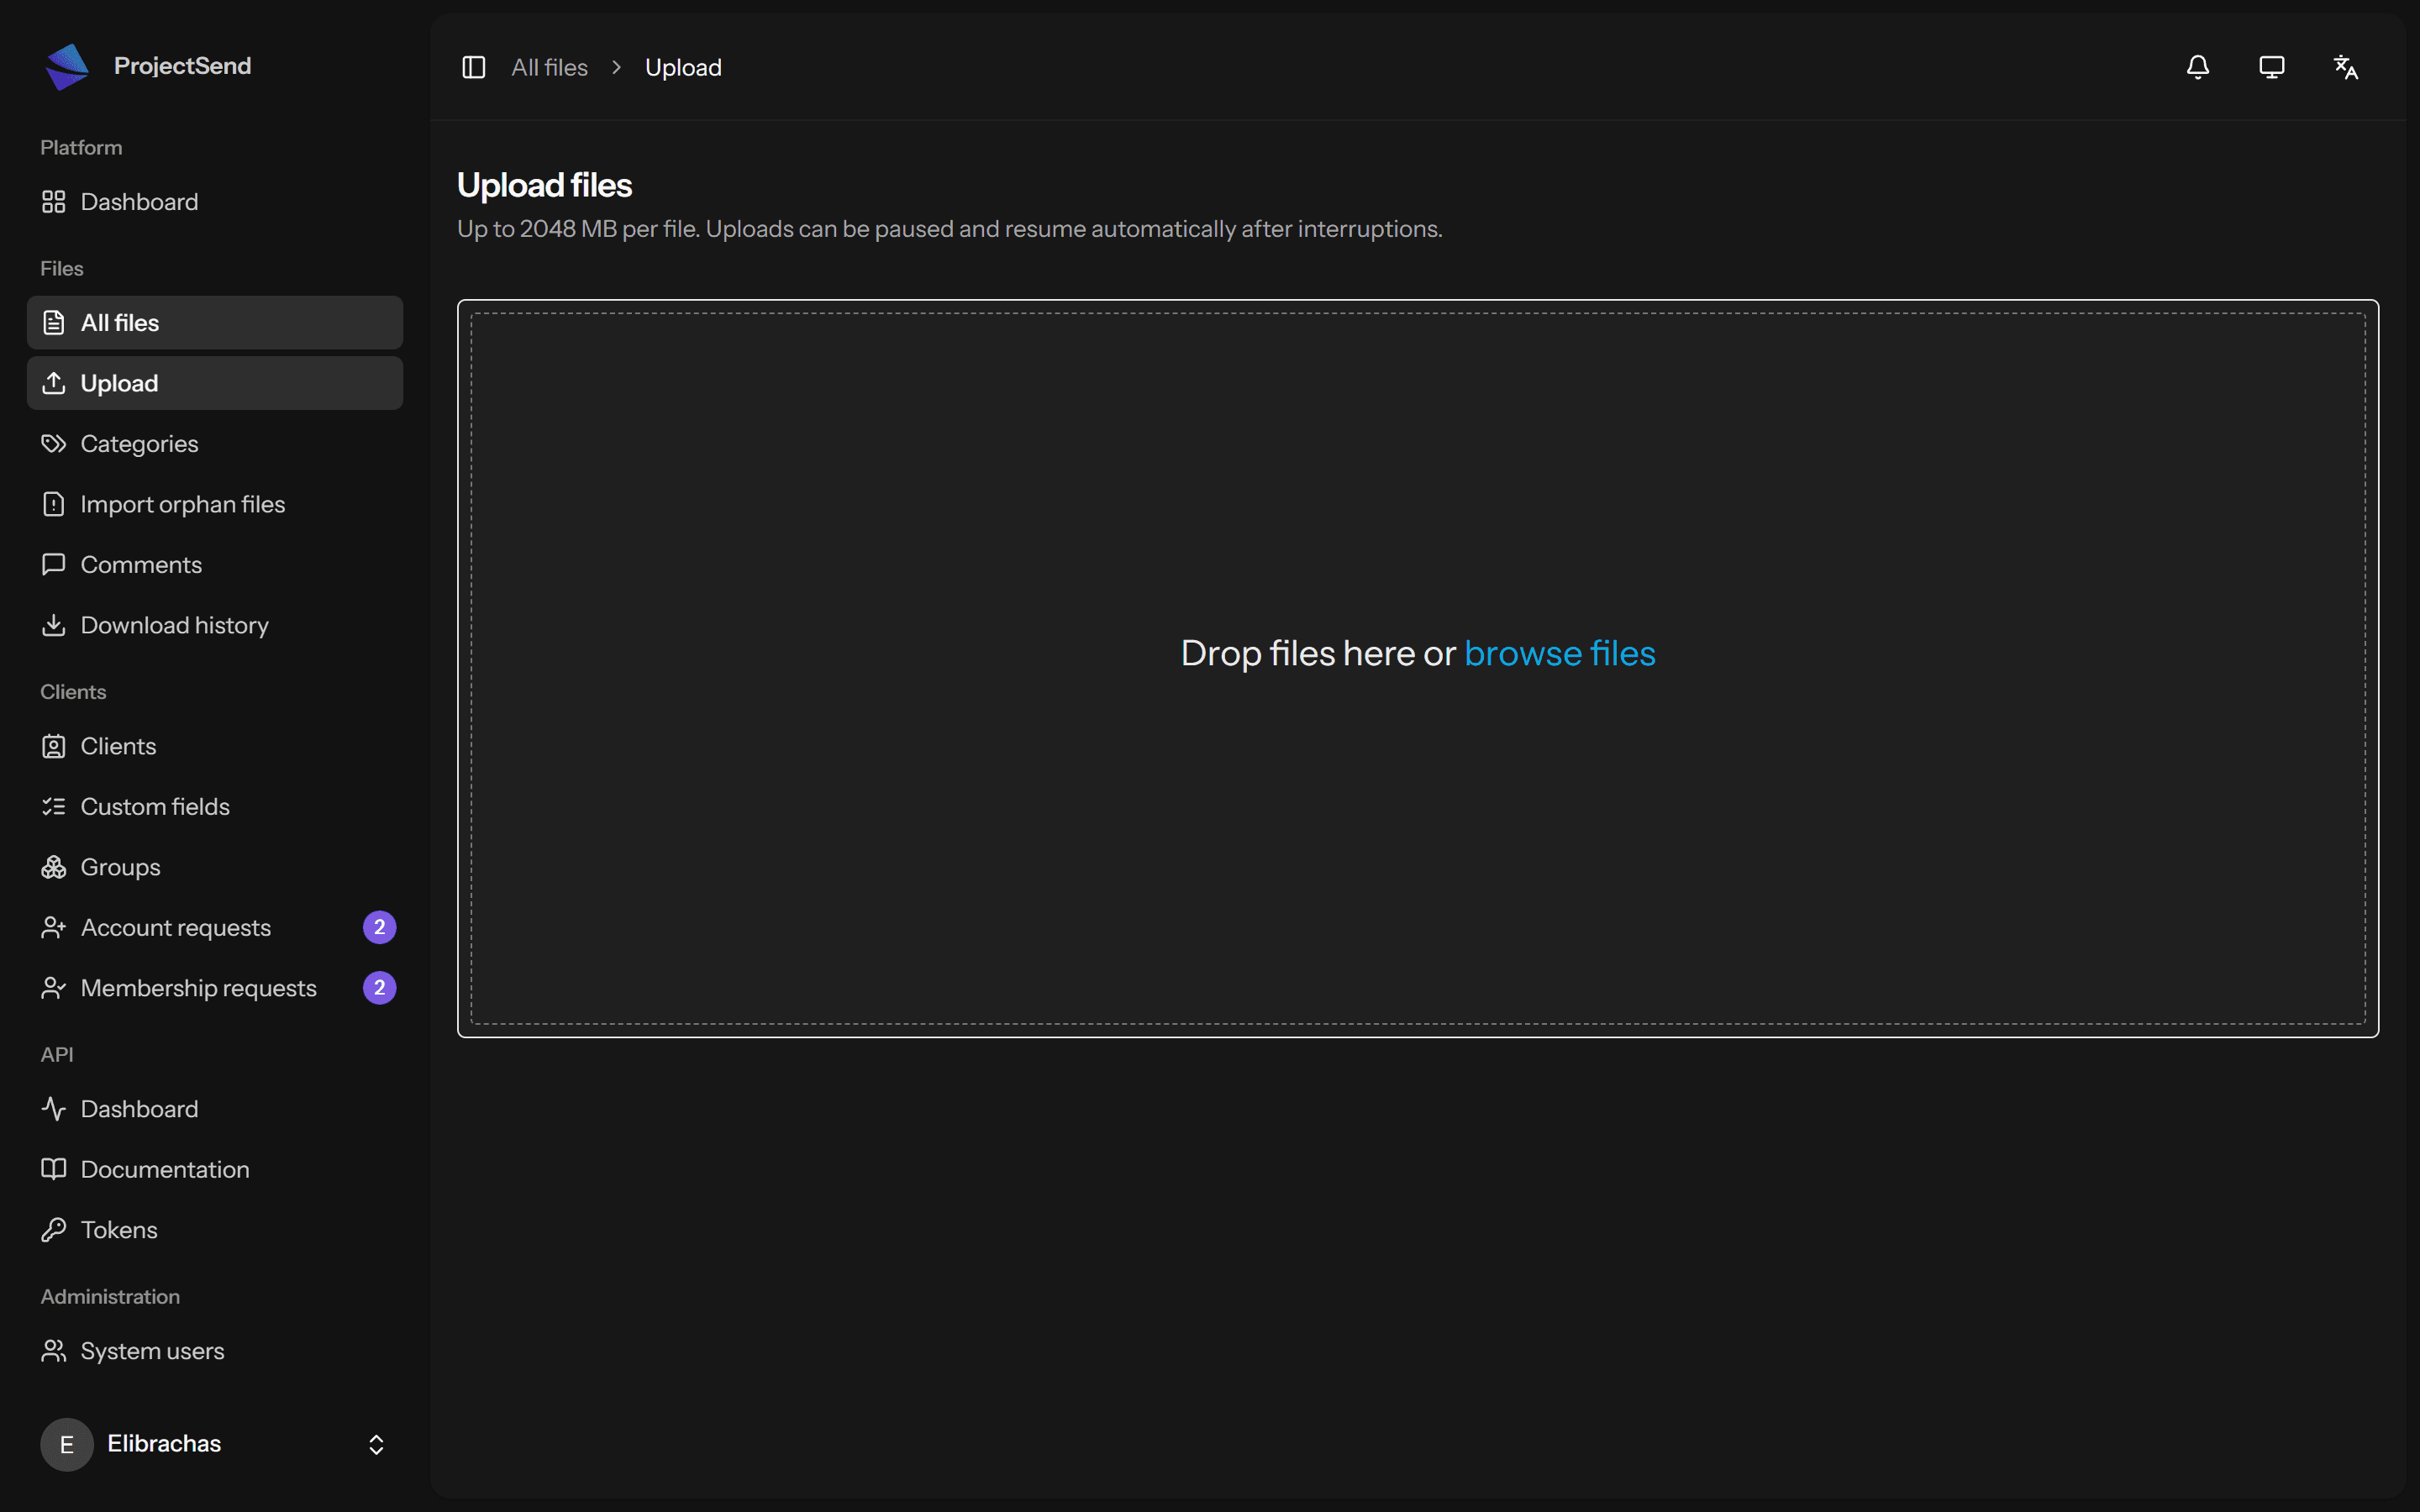
Upload your files
Drag and drop up to 2 GB per file. Uploads are resumable — pause them, lose your connection, come back later; they pick up right where they left off.
Step 2
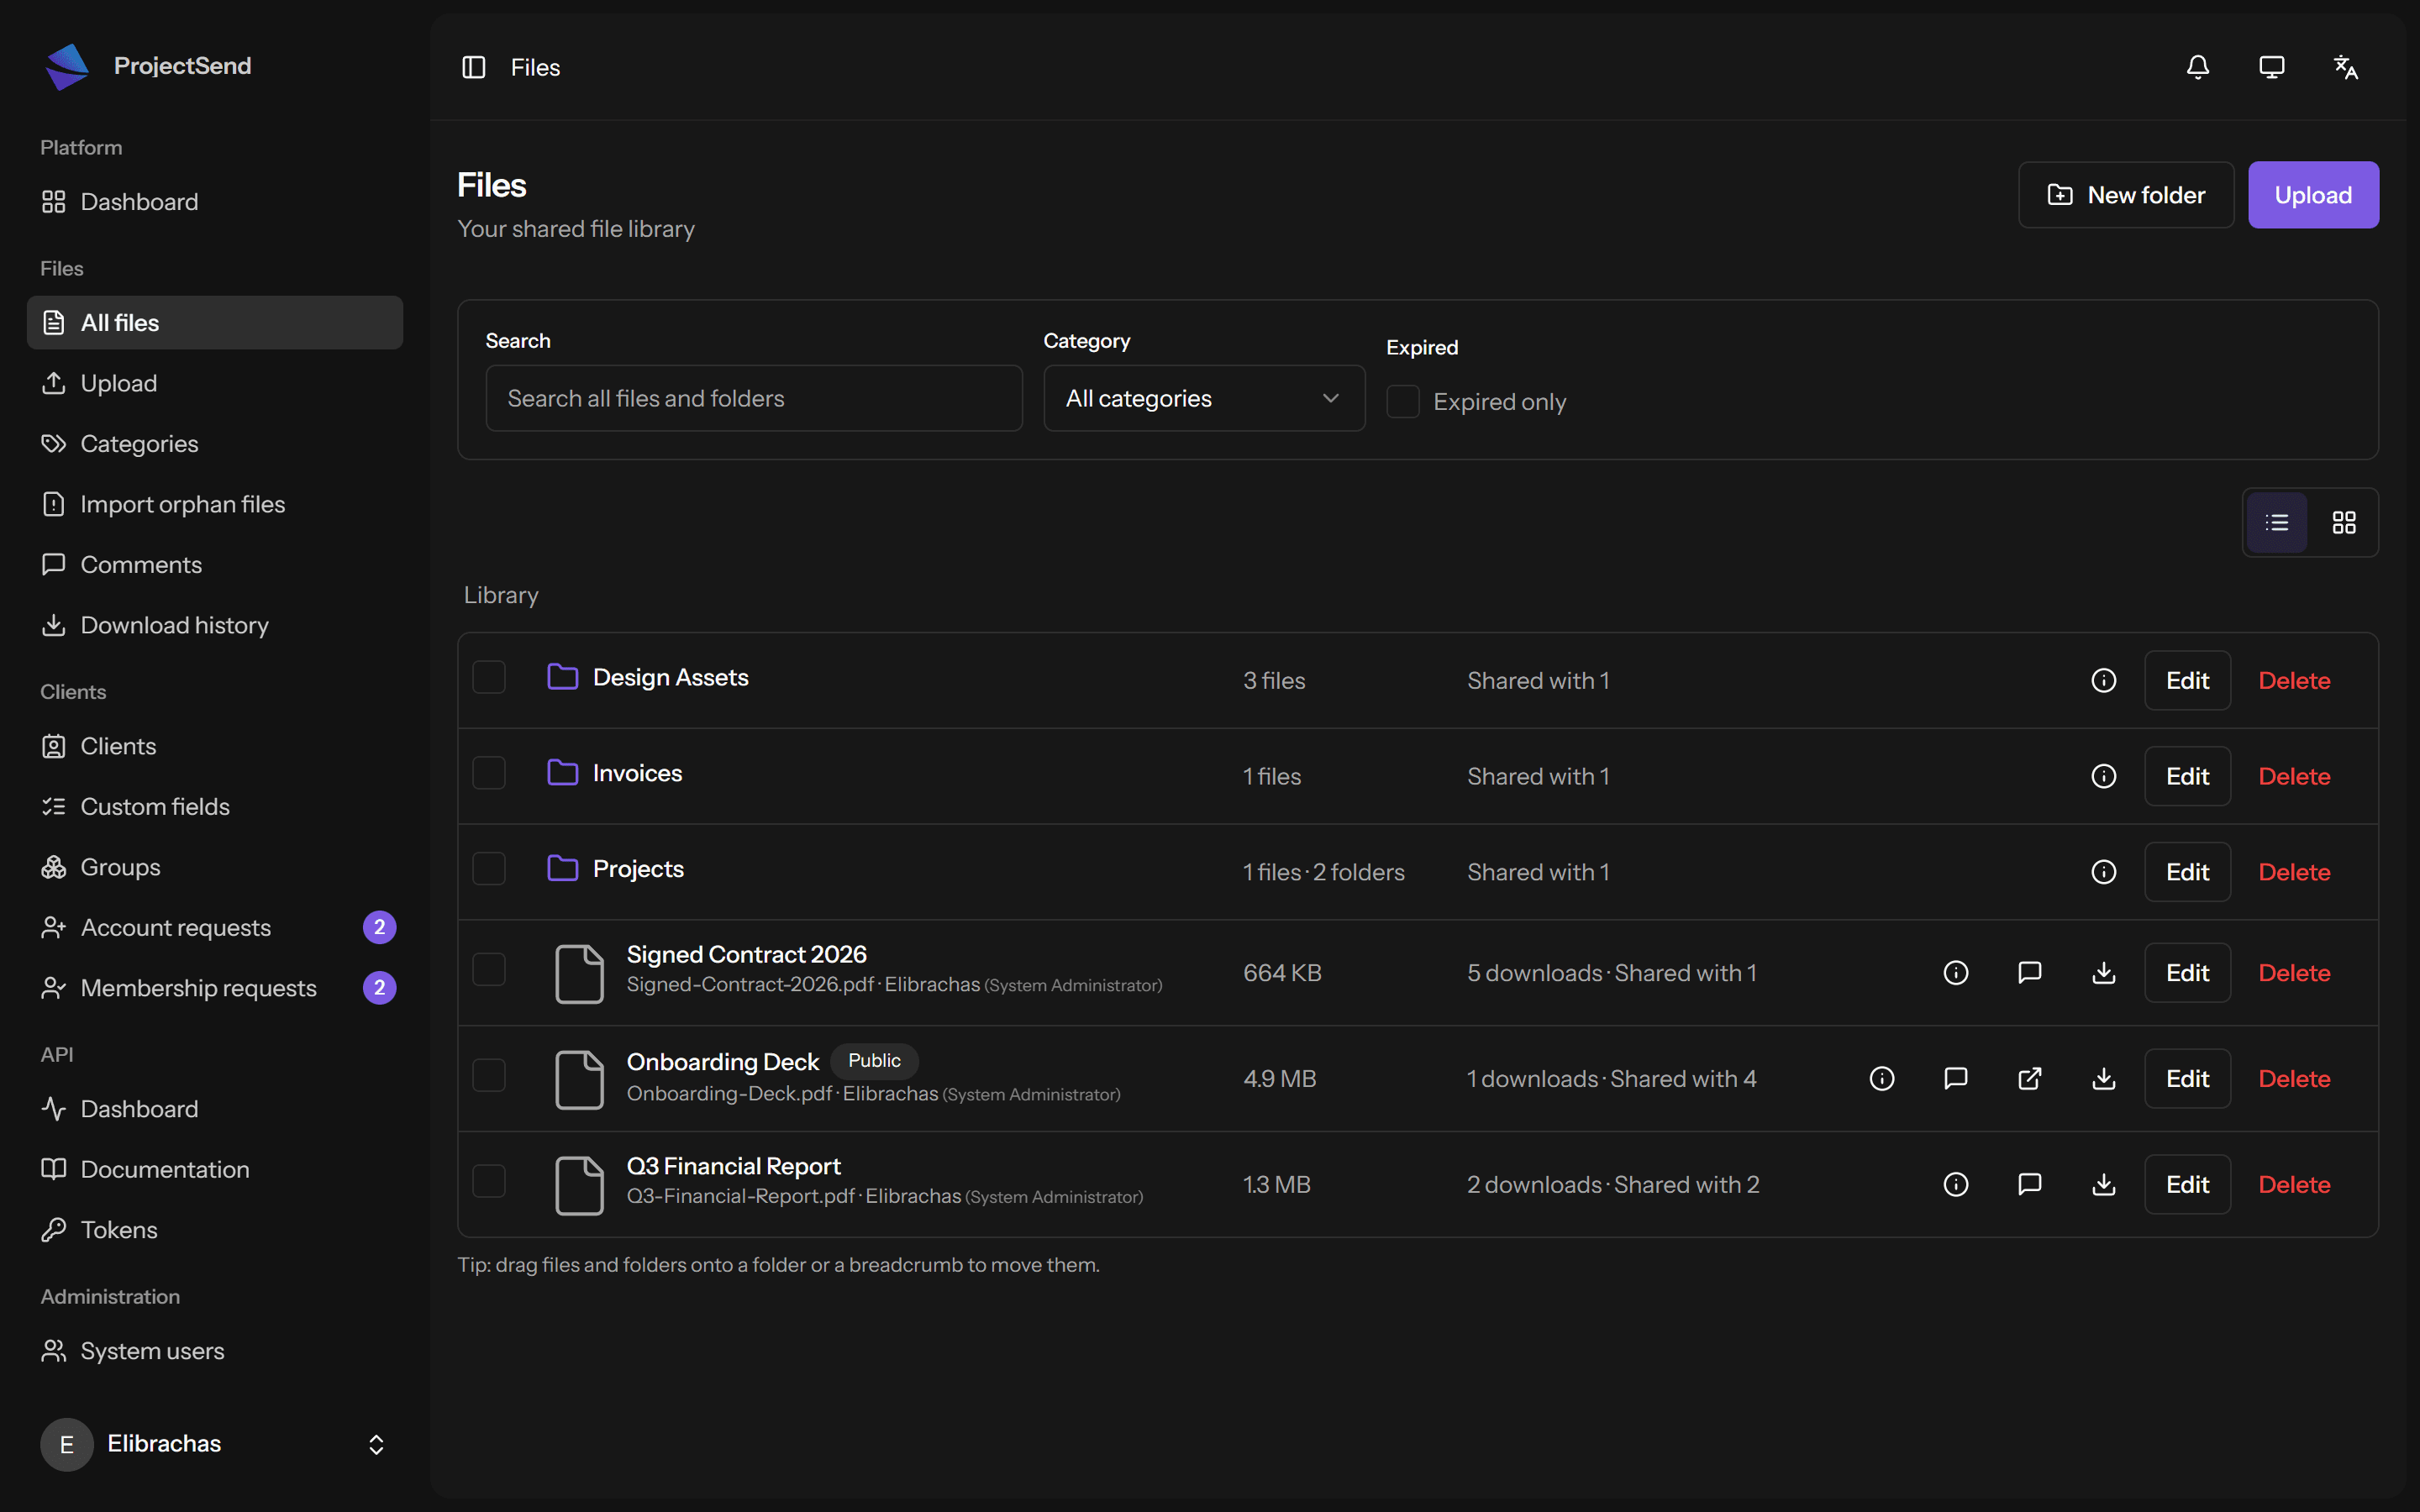
Organize your library
Folders, categories and search keep every deliverable where you expect it. Move things by dragging them onto a folder — or straight onto a breadcrumb.
Step 3
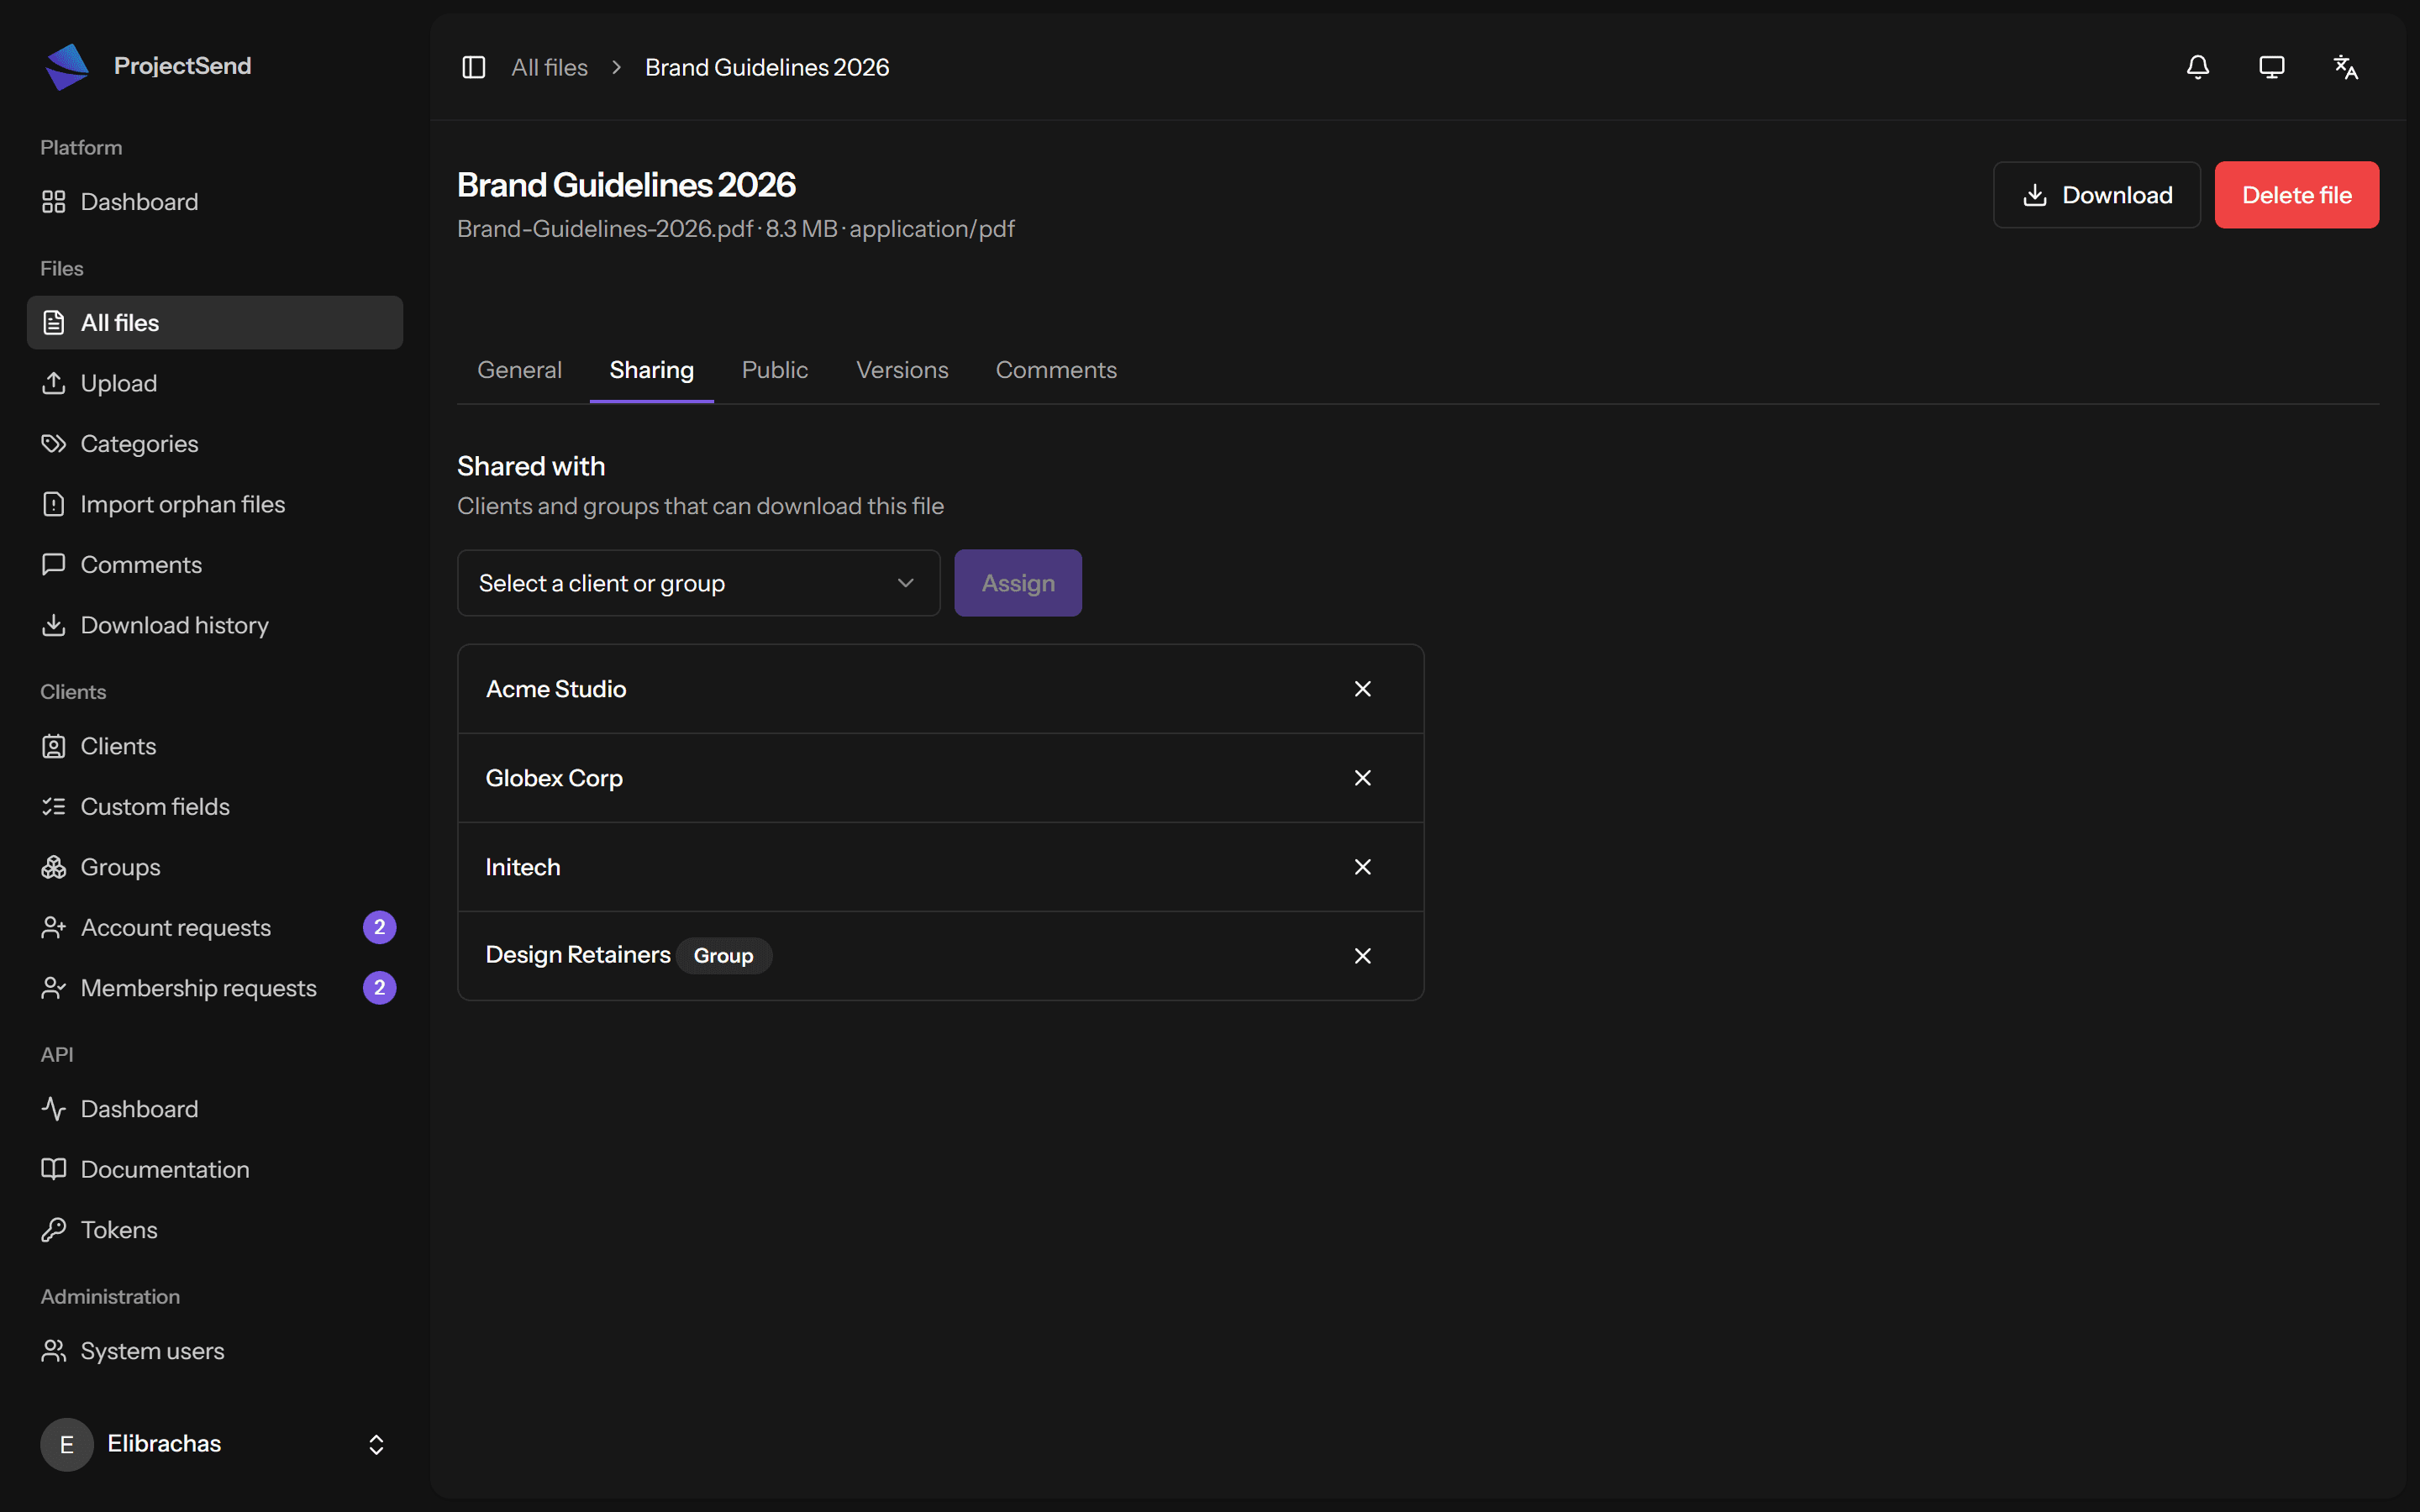
Share with exactly the right people
Assign a file to one client or to a whole group in two clicks. Need something lighter? Create a public link with an optional expiration date or download limit — no account needed.
Step 4
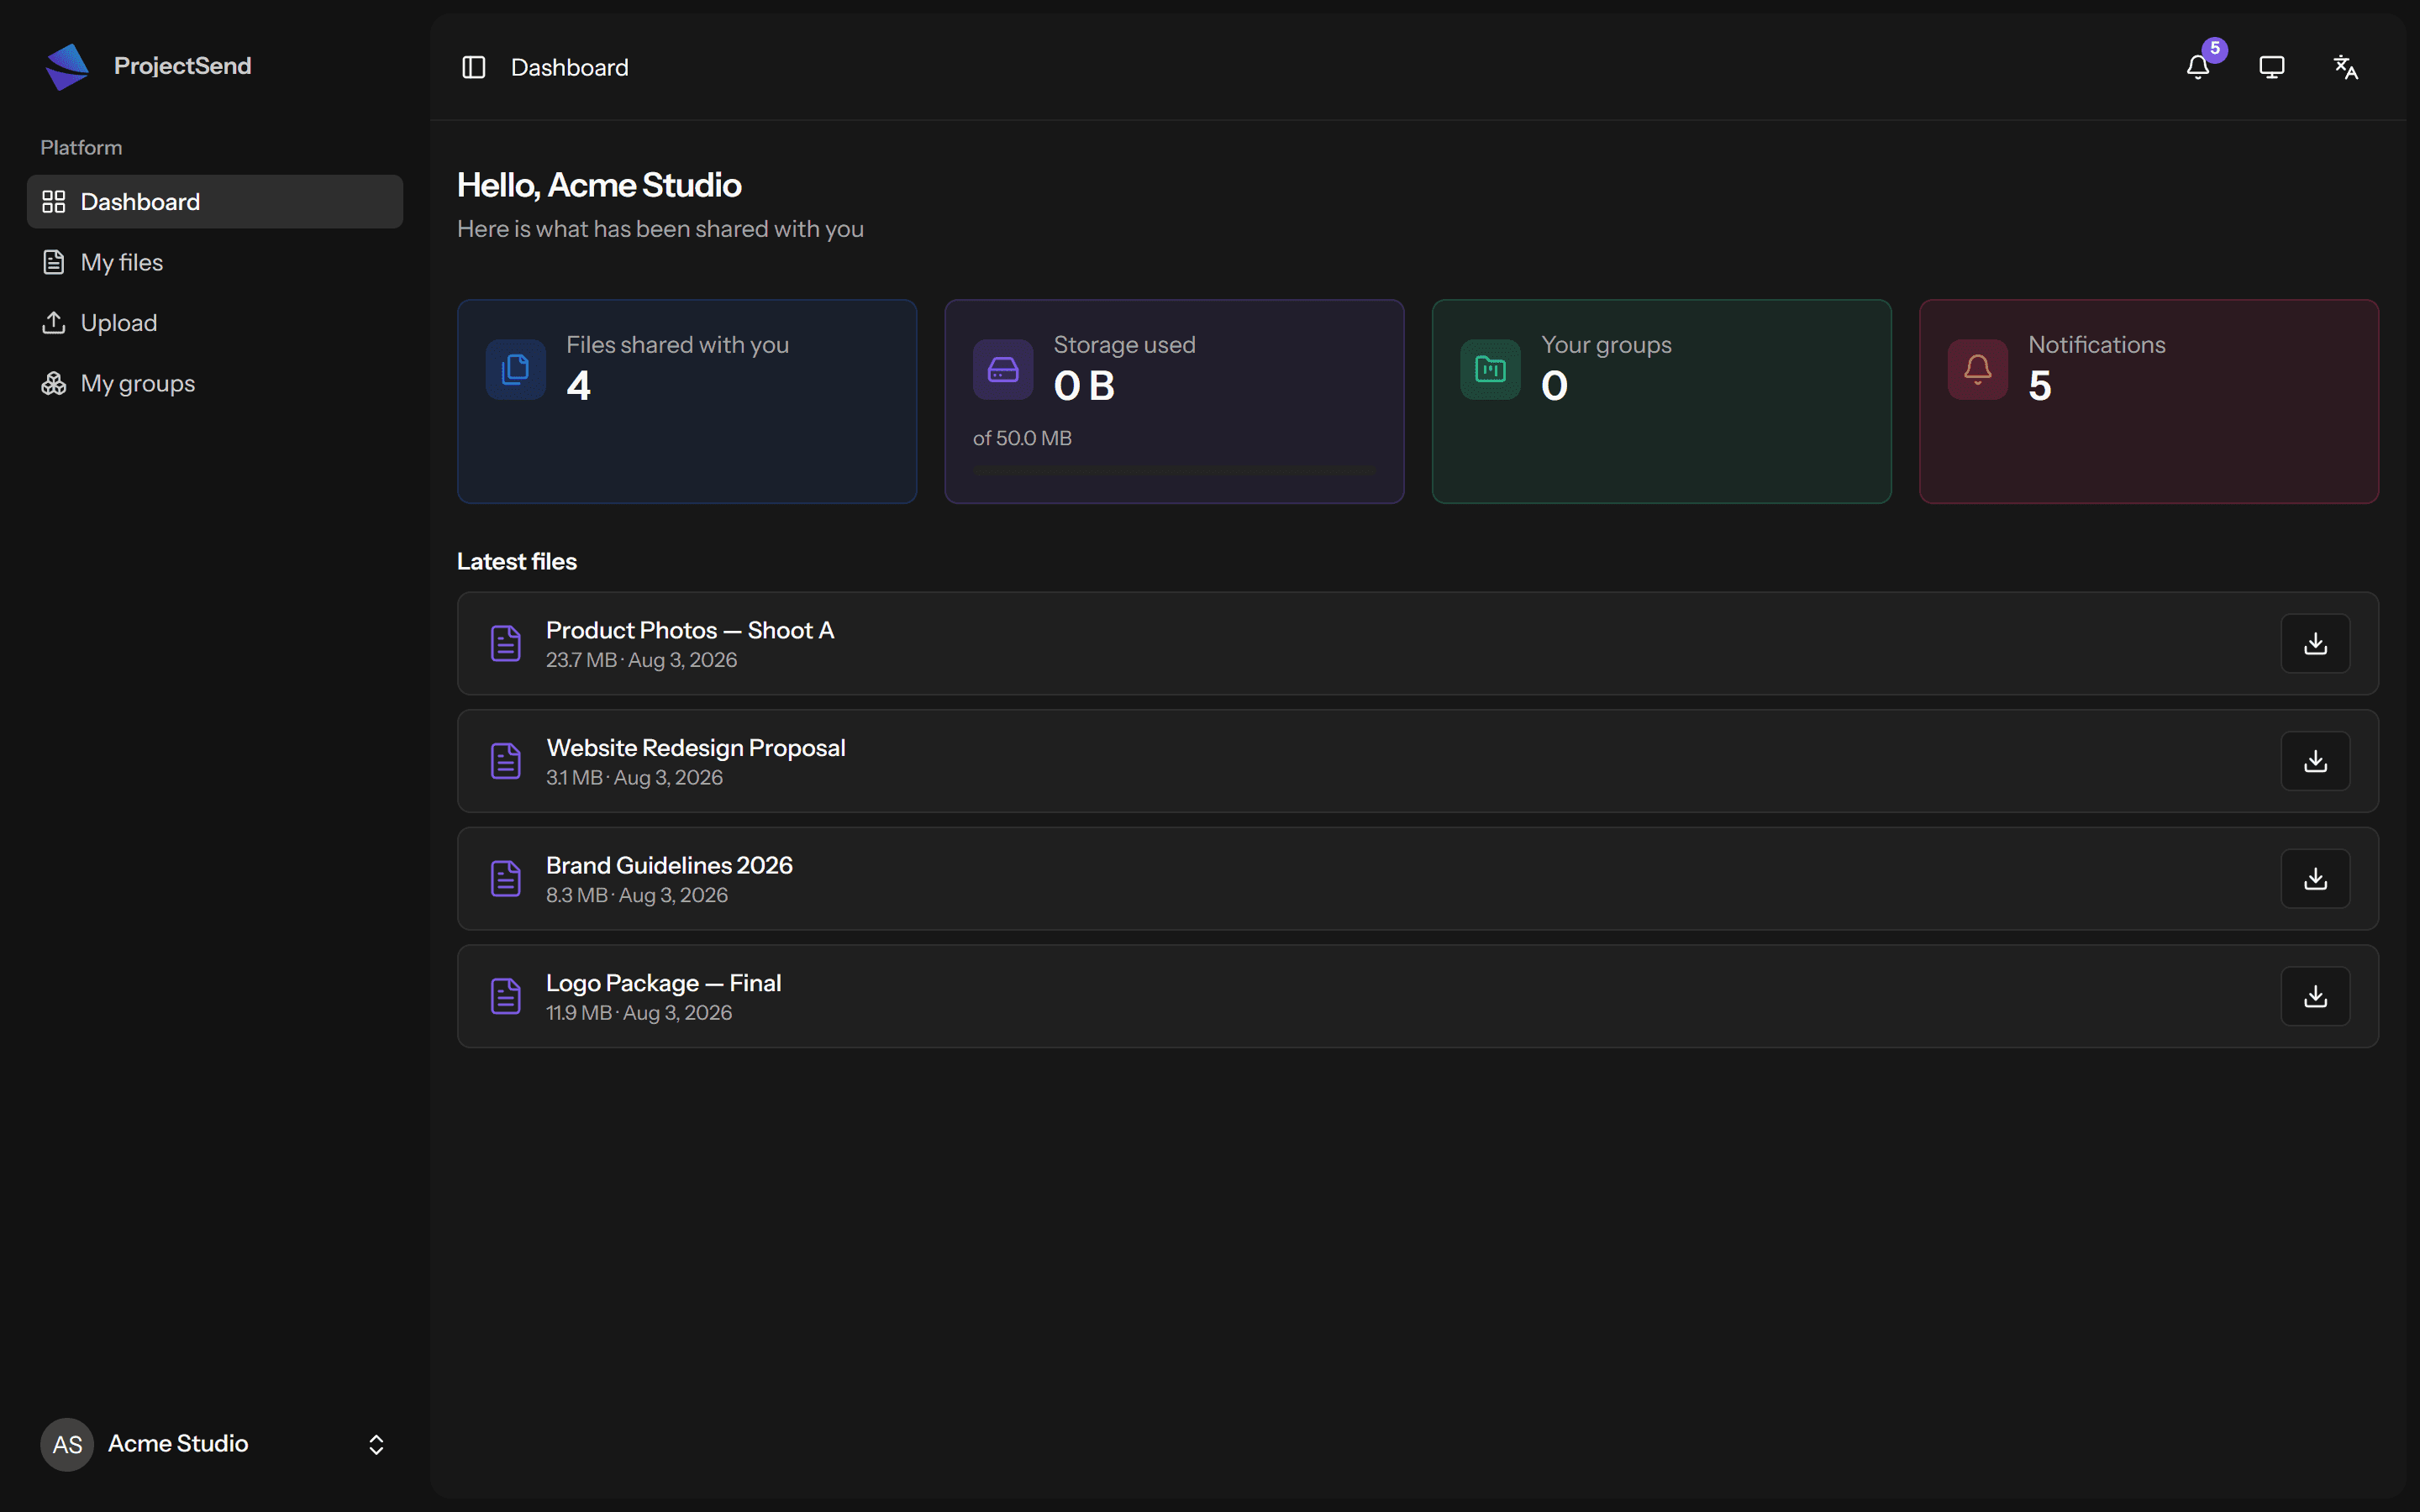
Clients get their own portal
Each client signs in to their own portal and sees exactly what you shared with them — nothing else. They can send files back to you within the storage quota you set, and there's no per-seat pricing: invite as many clients as you need.
Step 5
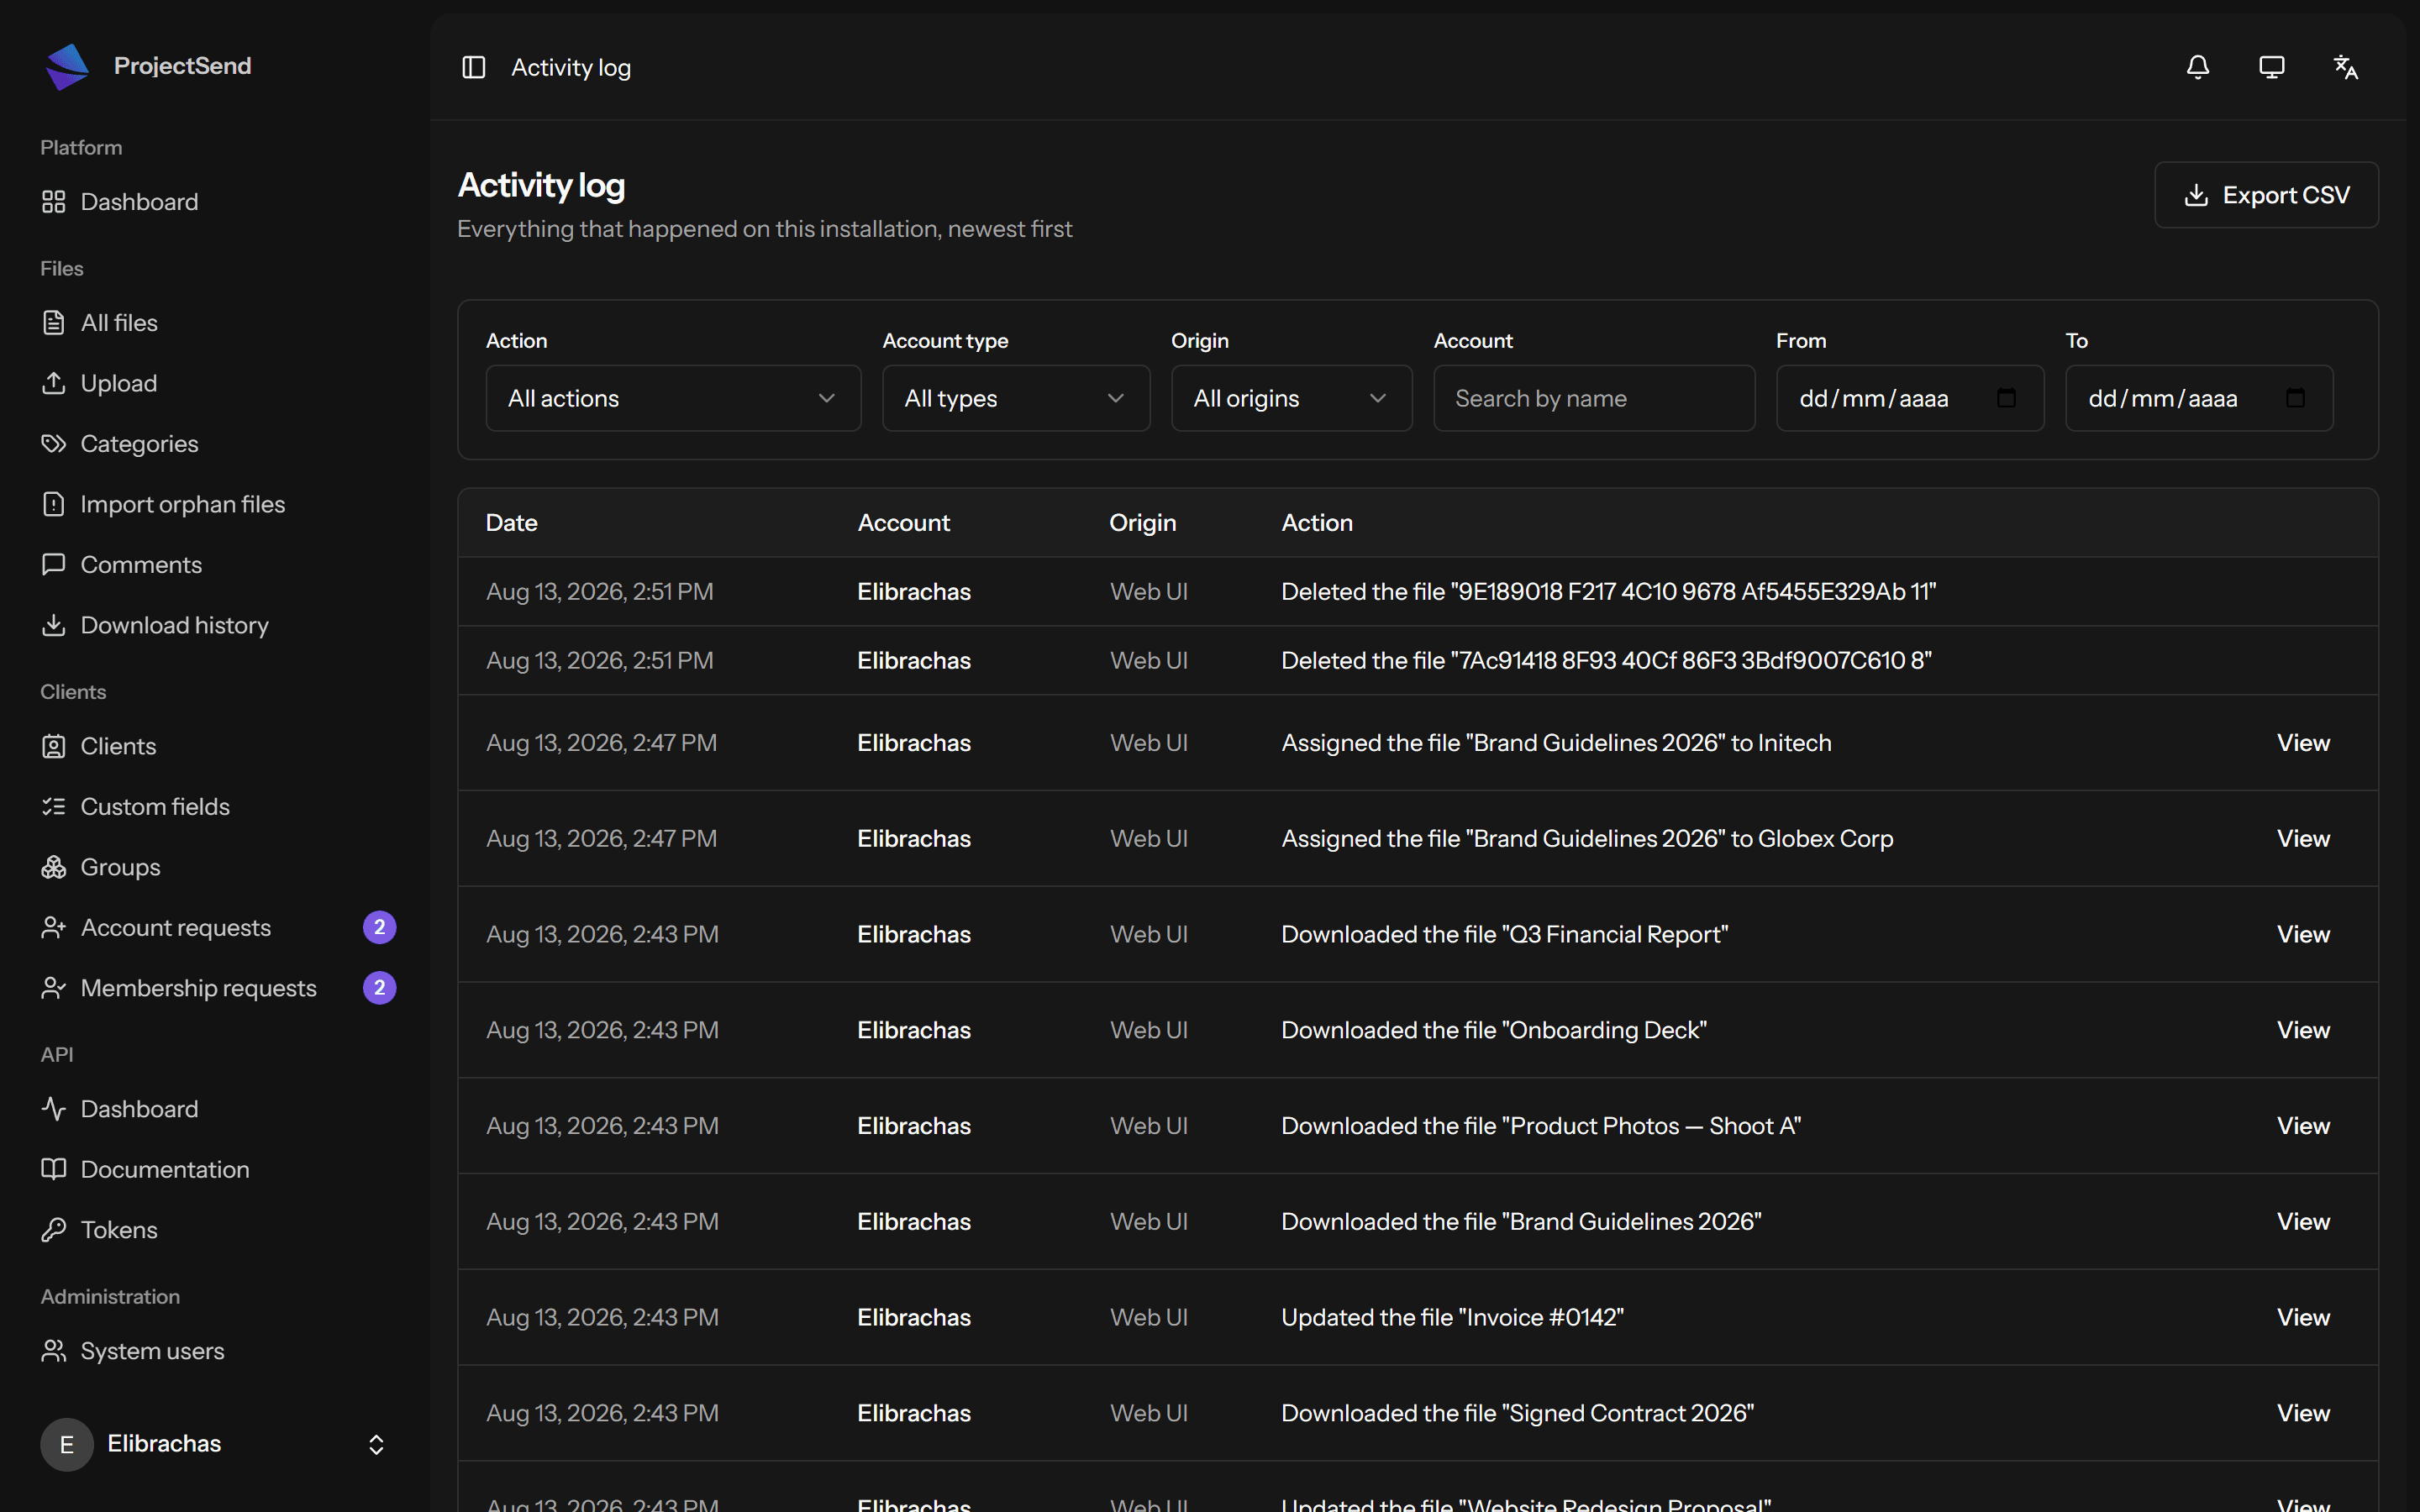
Know exactly what happened
Every upload, download and change lands in the activity log — filter by action, account or date range, and export the whole thing as CSV when someone asks.
Built for control
Your clients, your rules
Everything about who can see what is explicit, auditable, and yours to define.
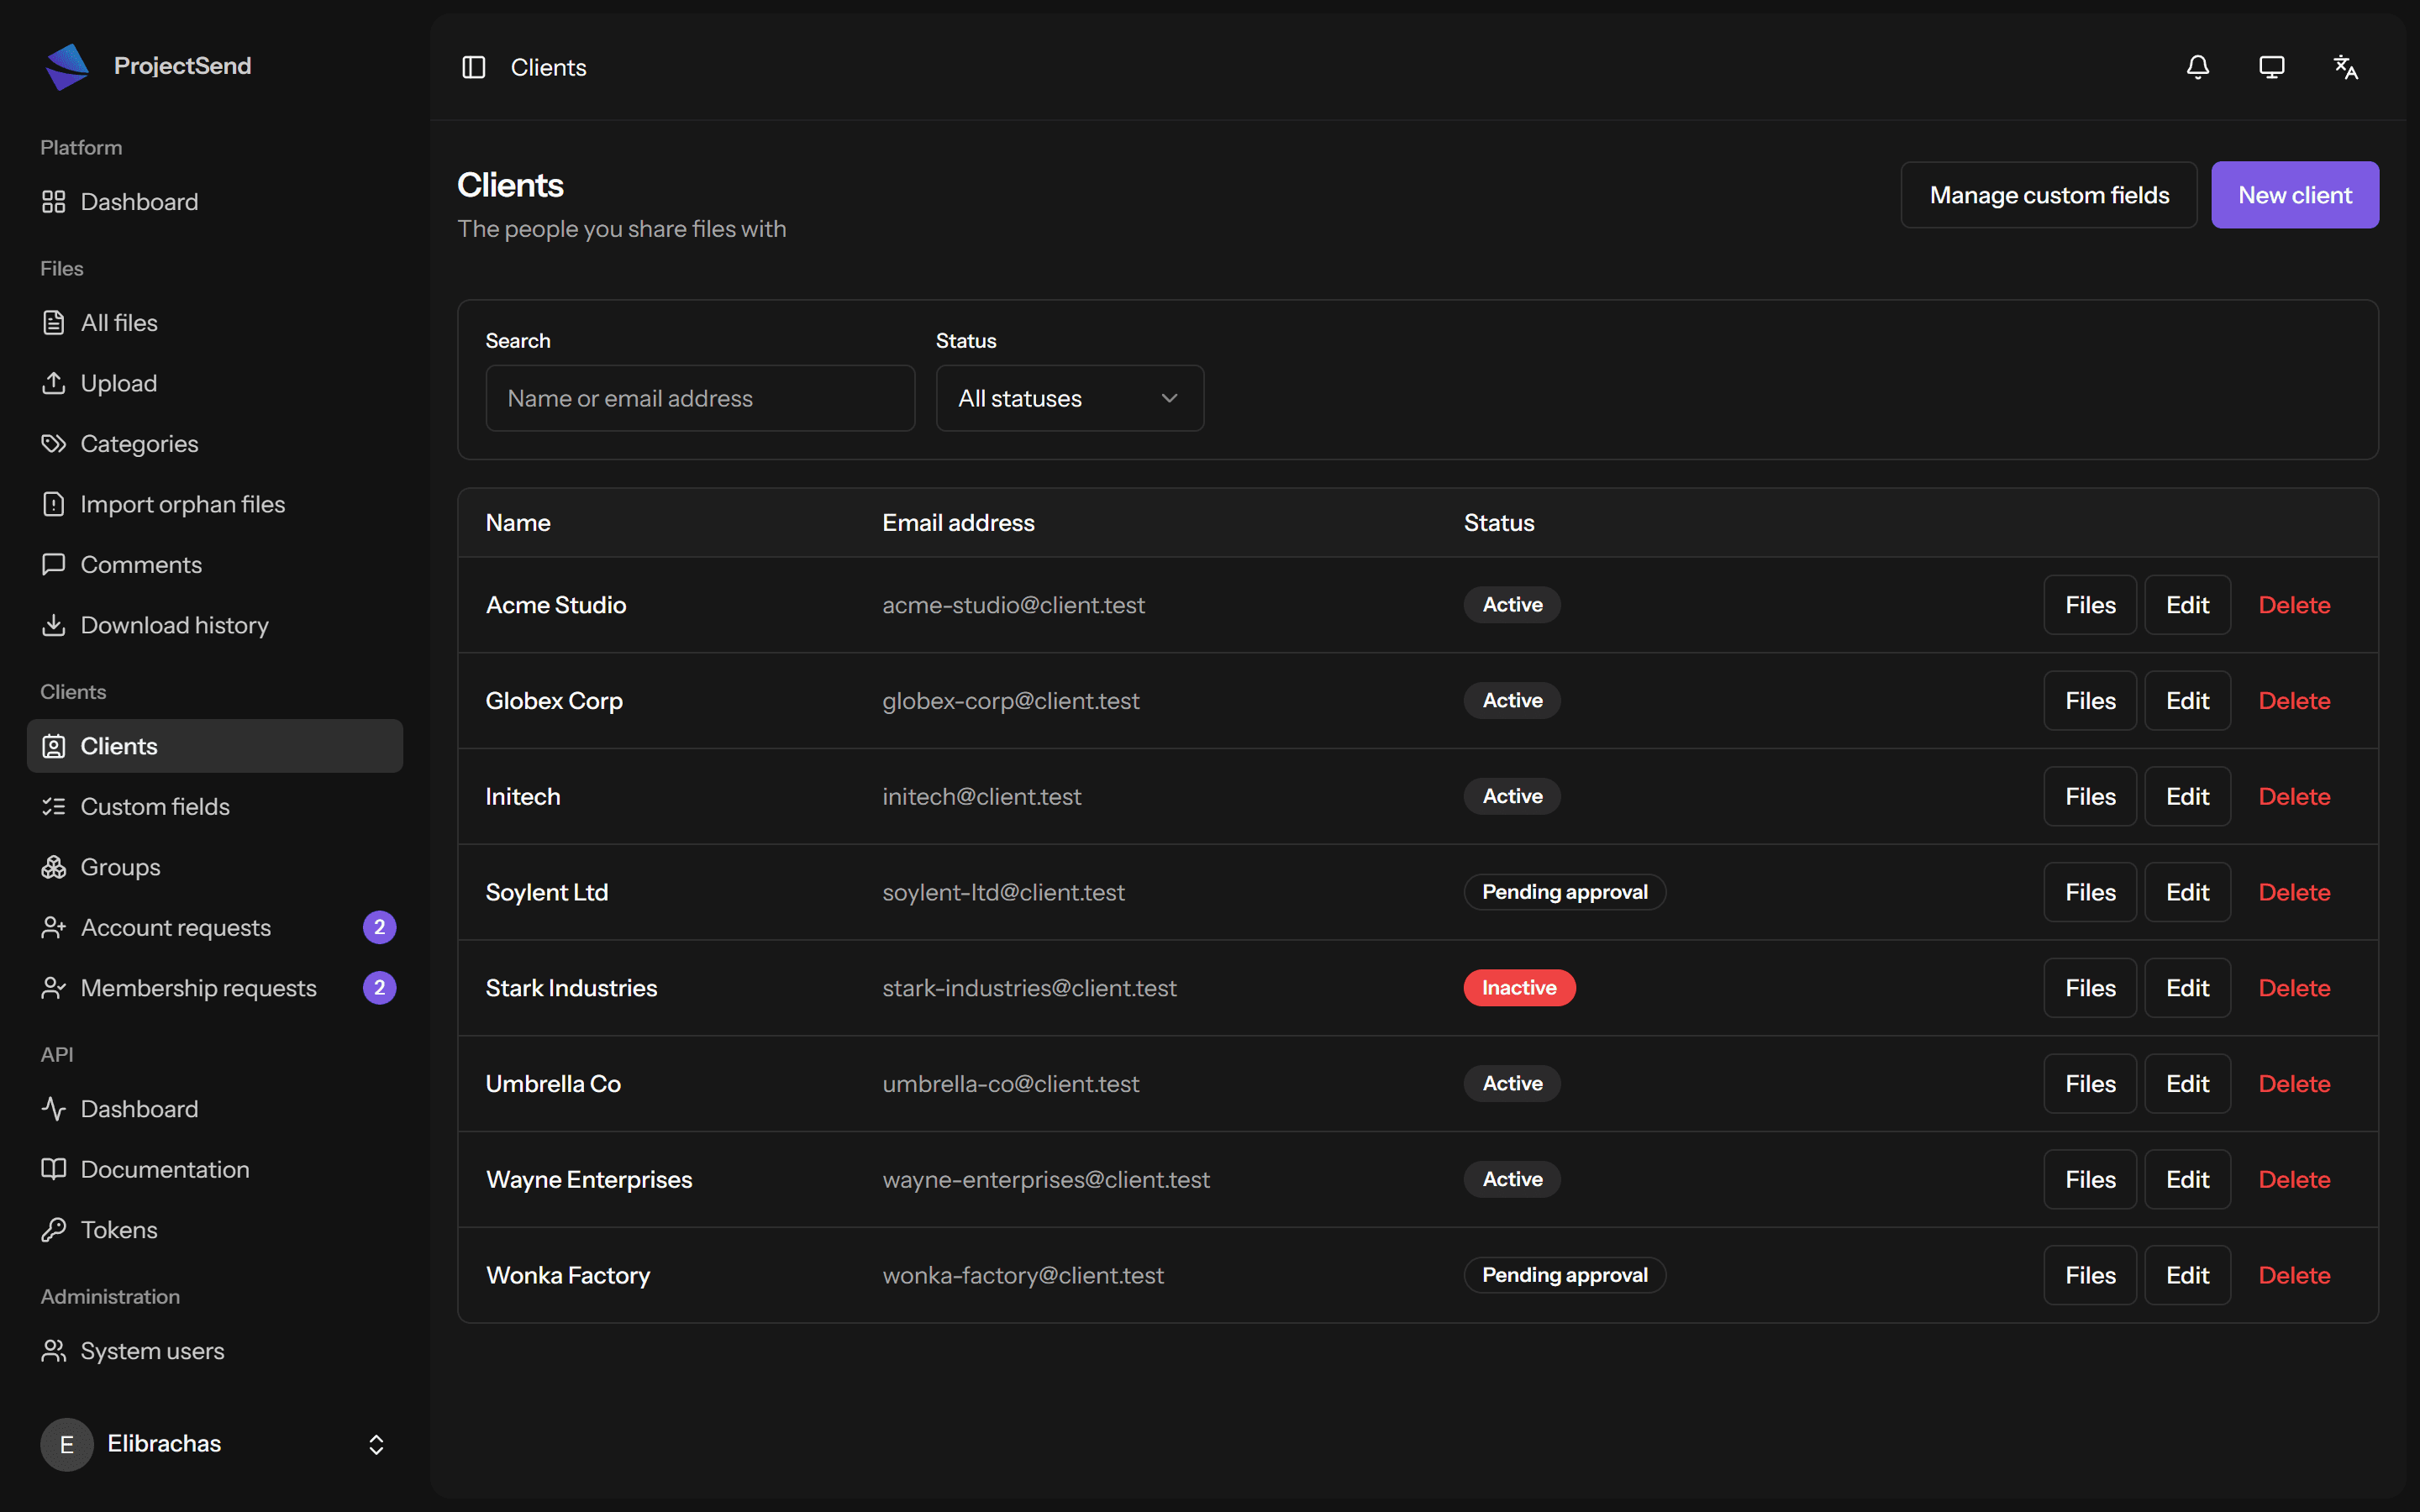
Client accounts
Statuses, approvals and per-client storage quotas.
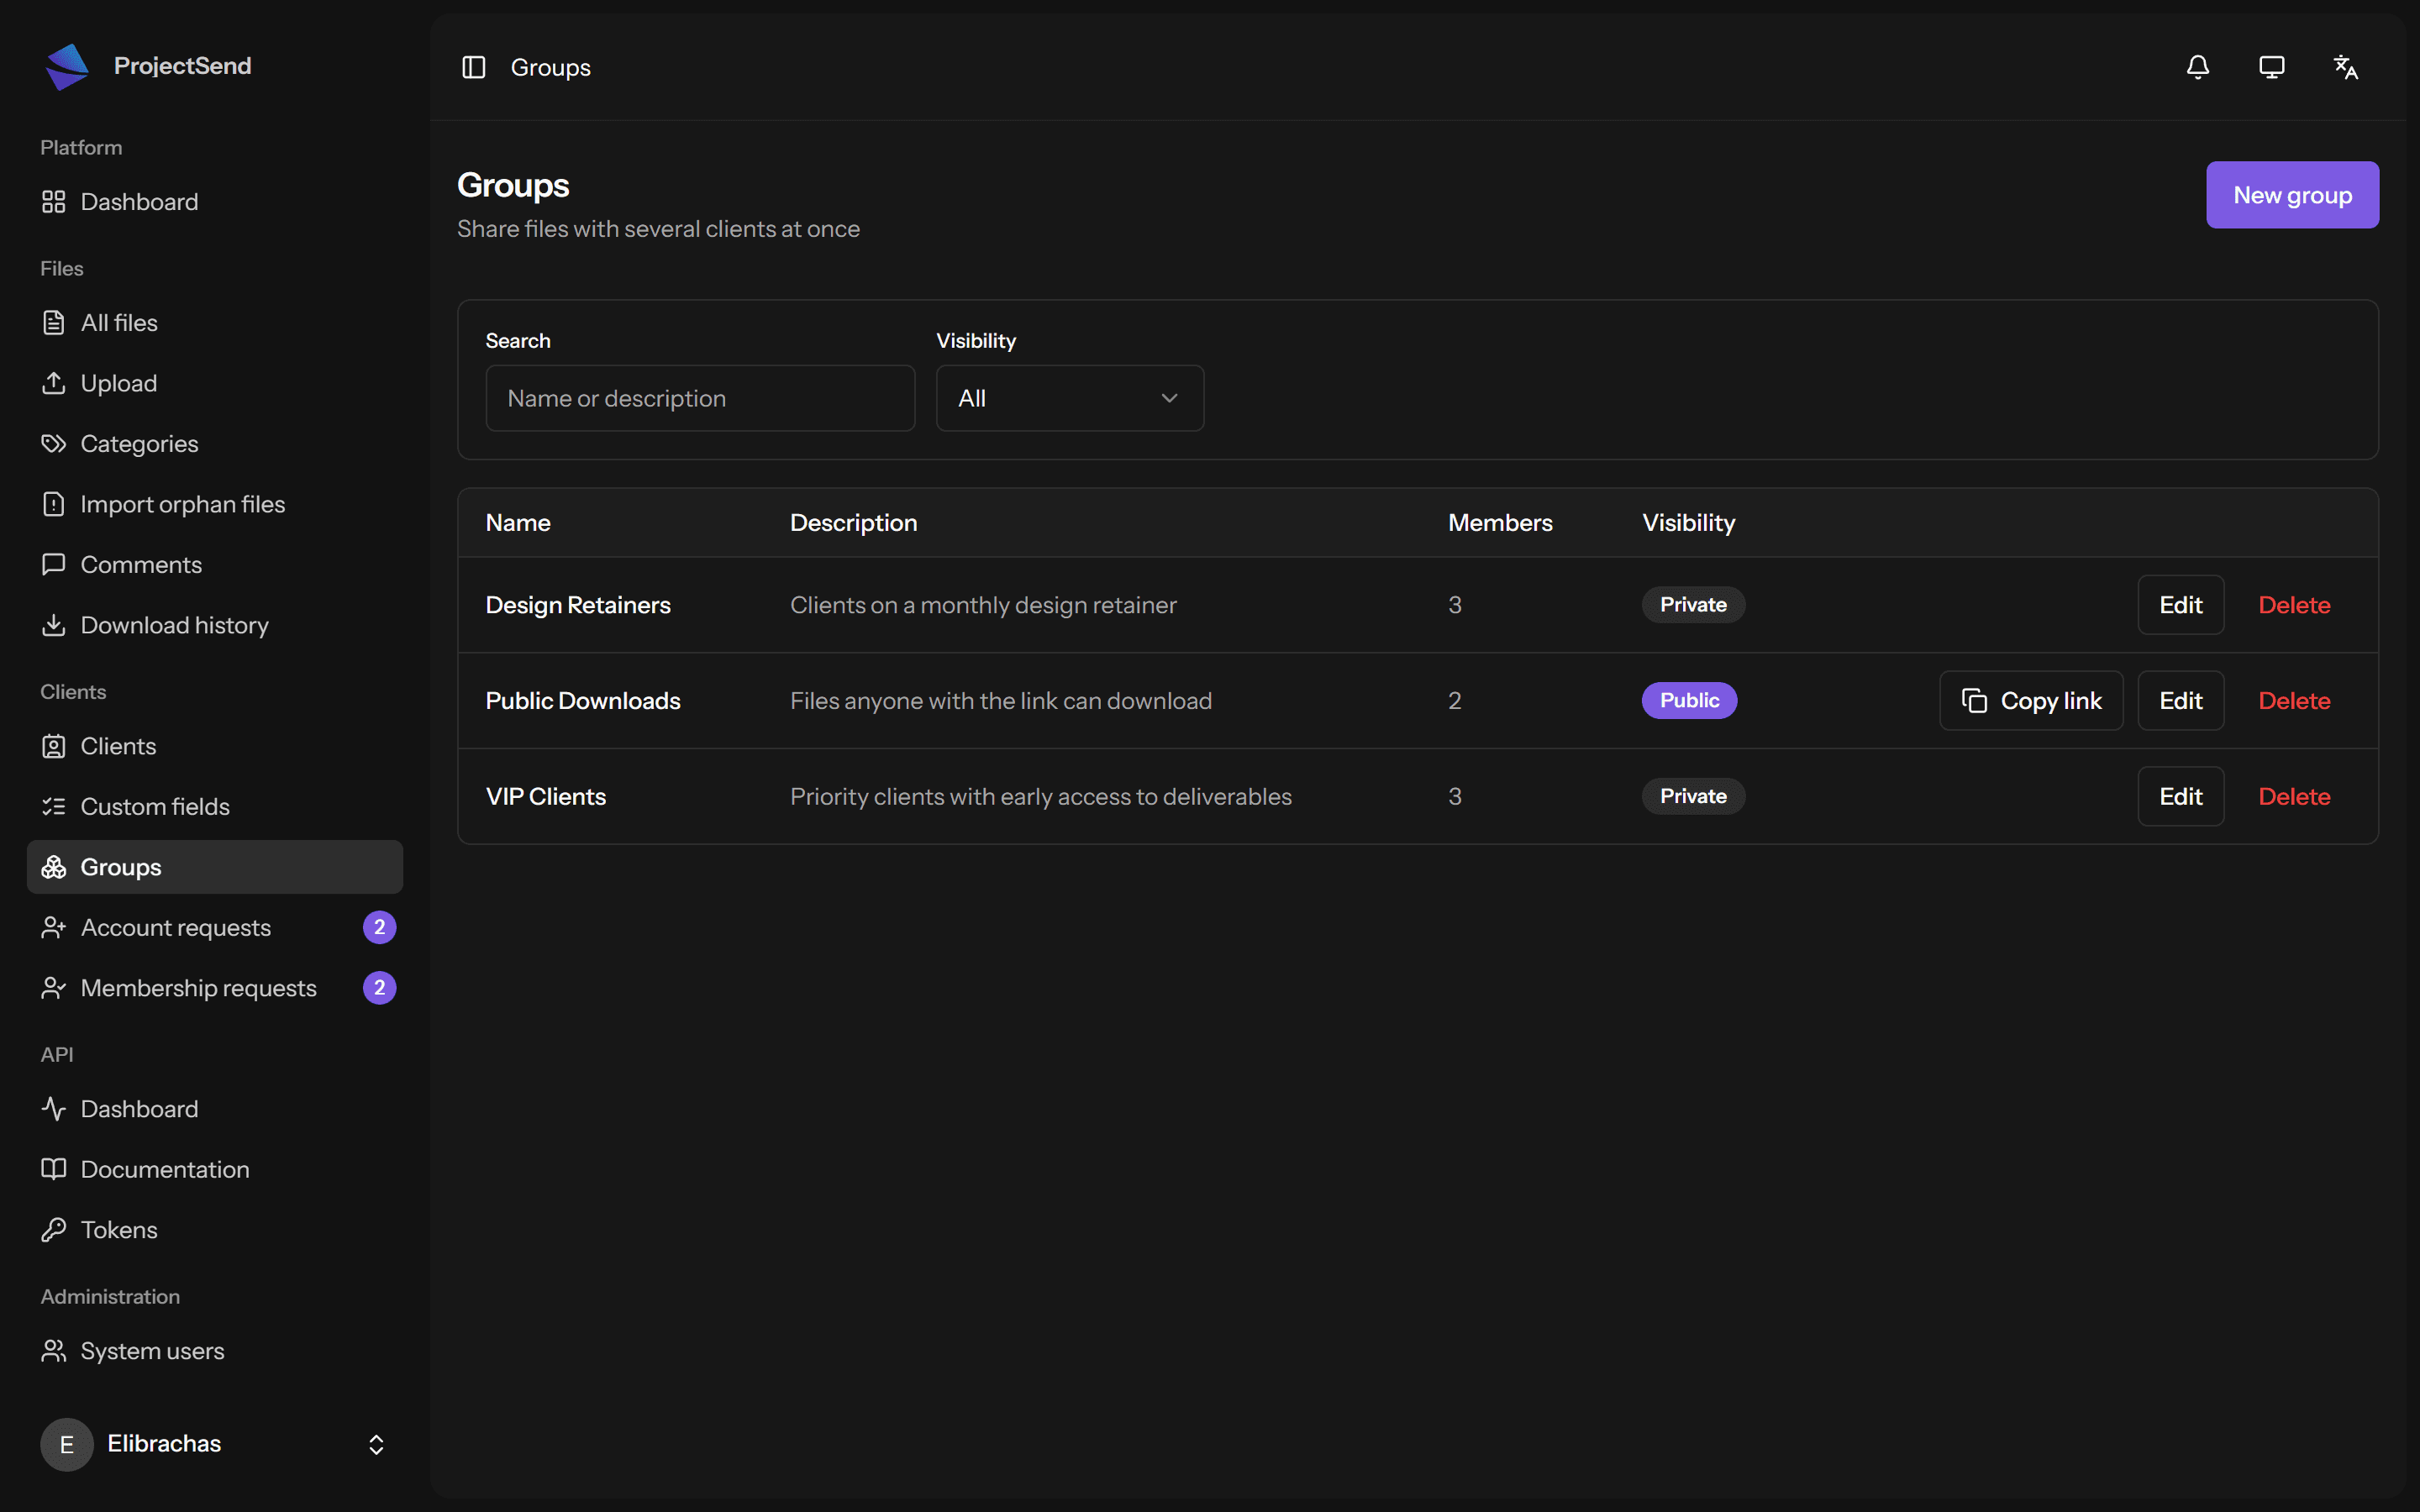
Groups
Share once, reach many. Private, or public with a link.
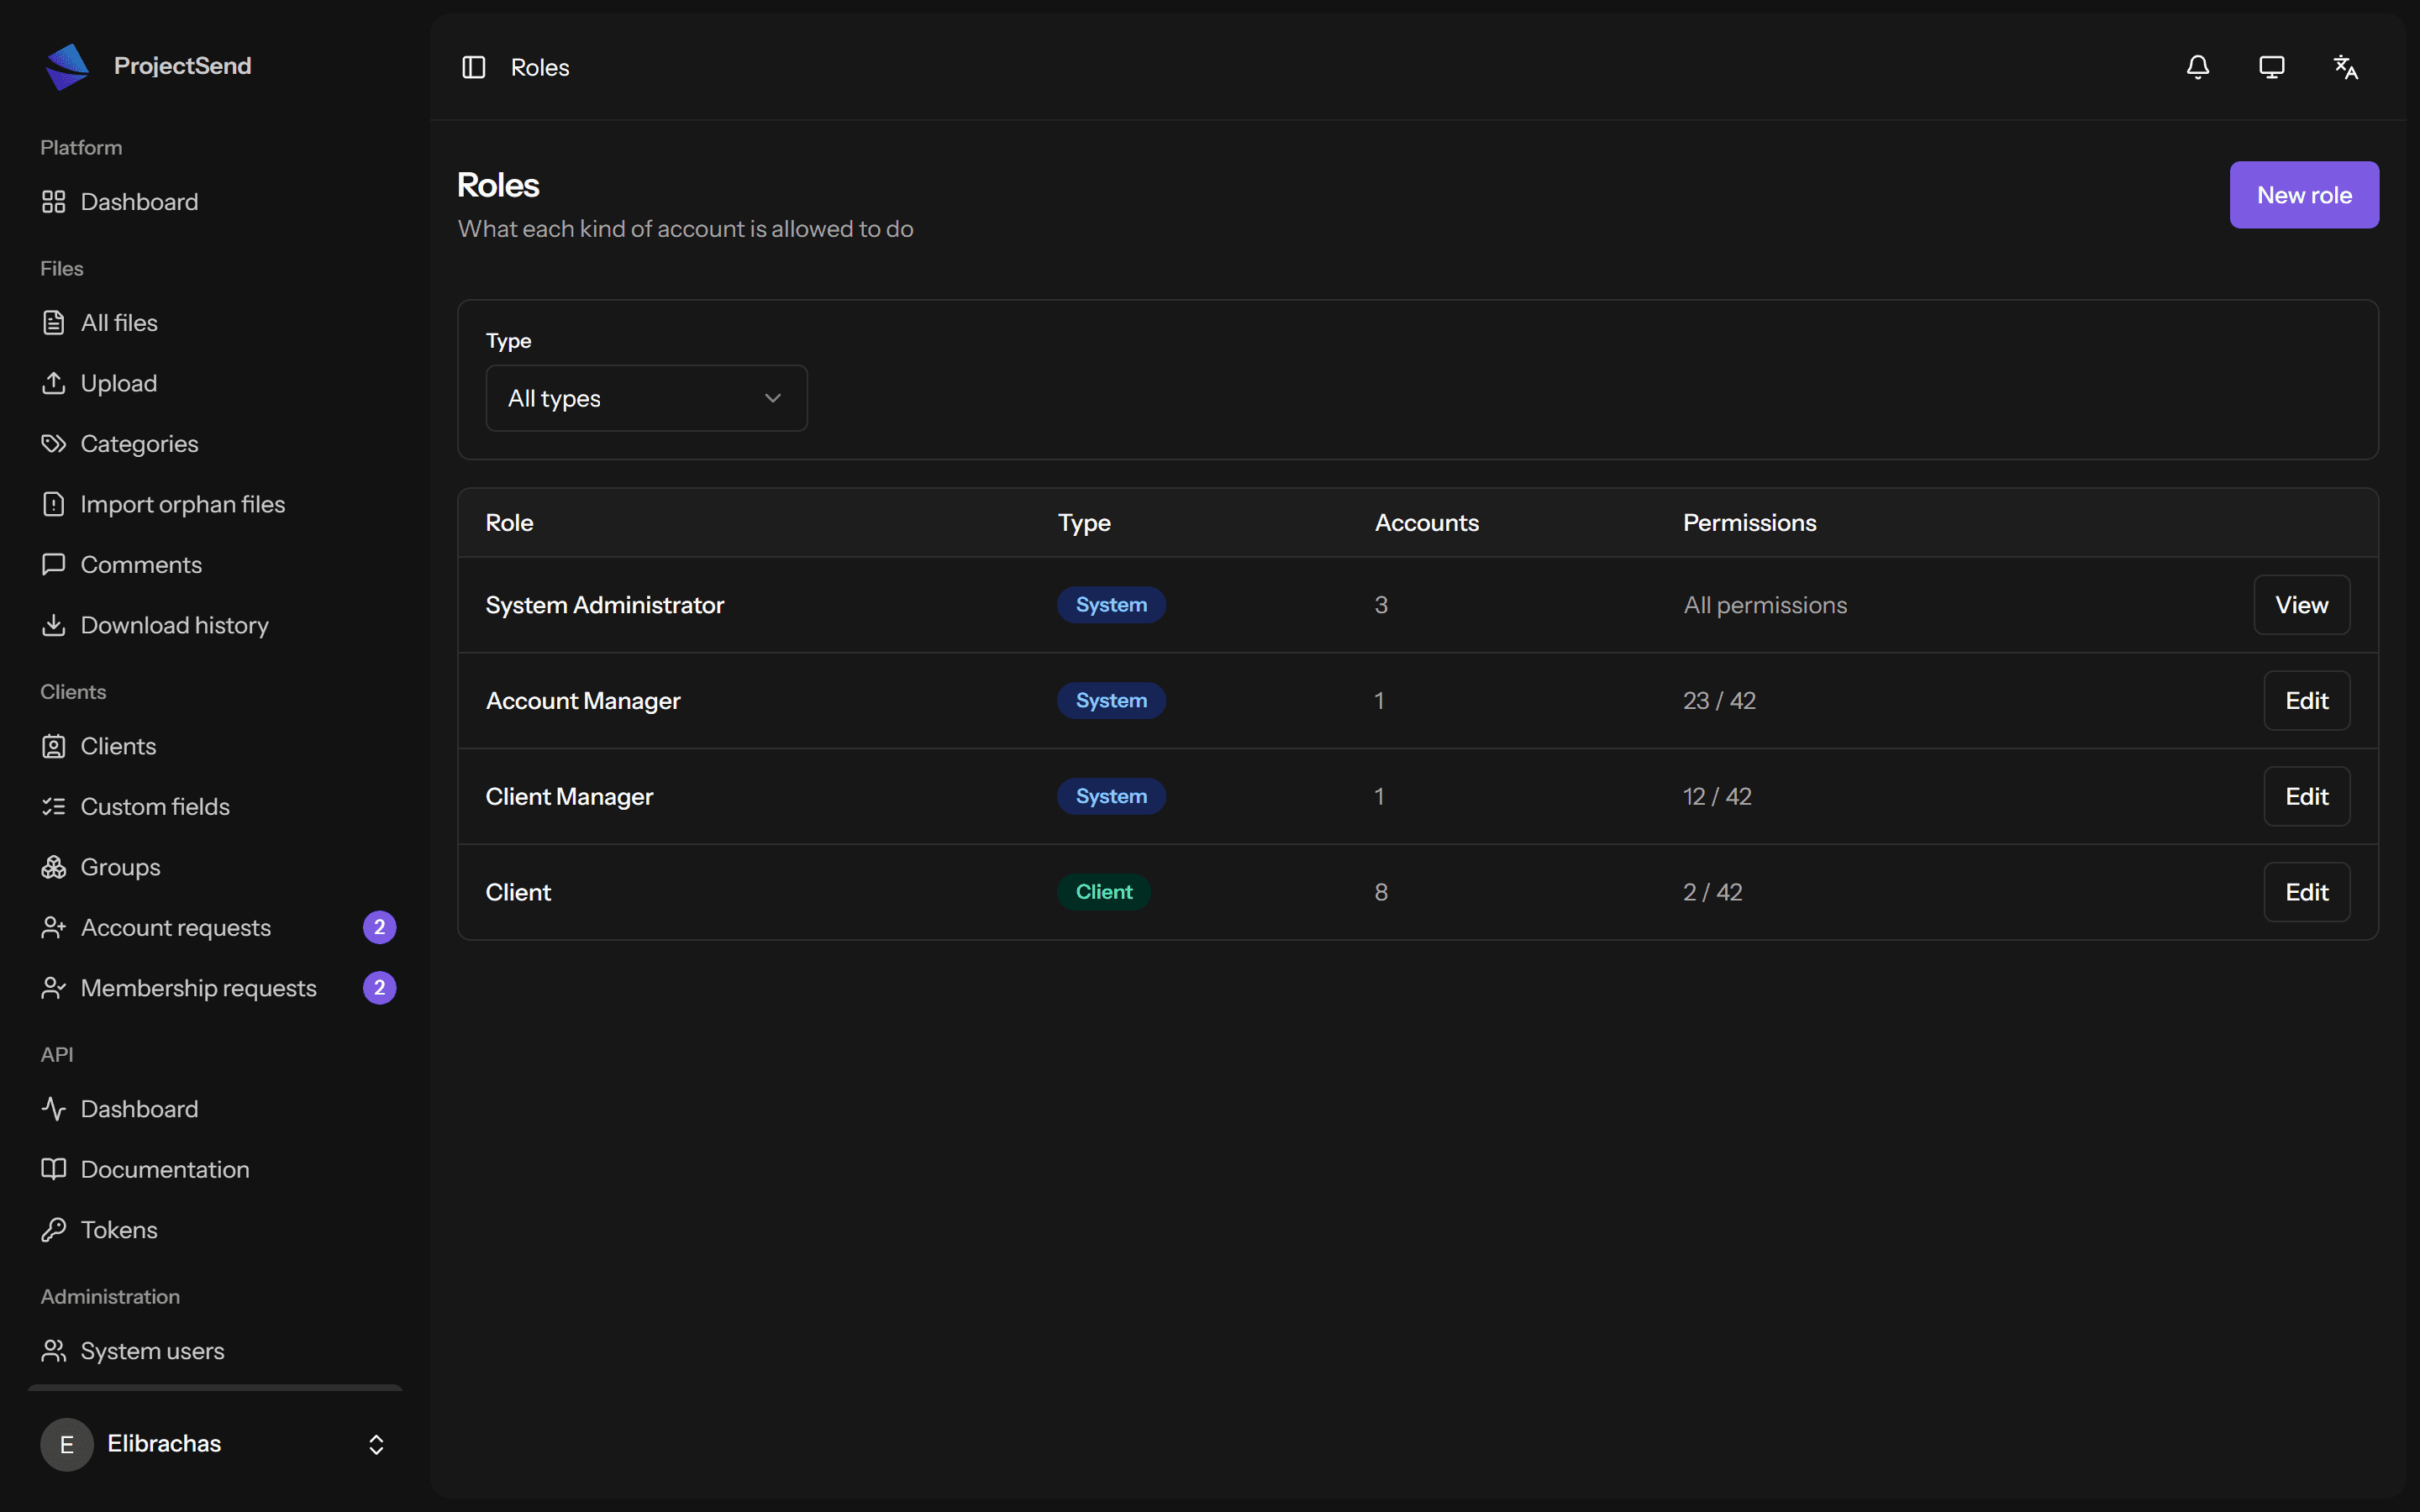
Roles & permissions
System roles out of the box — or create your own with granular permissions.
Ready to make it yours?
Install ProjectSend on your own server — free forever under GPL v2 — or let ProjectSend Cloud handle the hosting.